
Acción de sello + pincel tex (Stamp action + tex brush) Stamp action + tex brush
Content ID:2157929
-
695

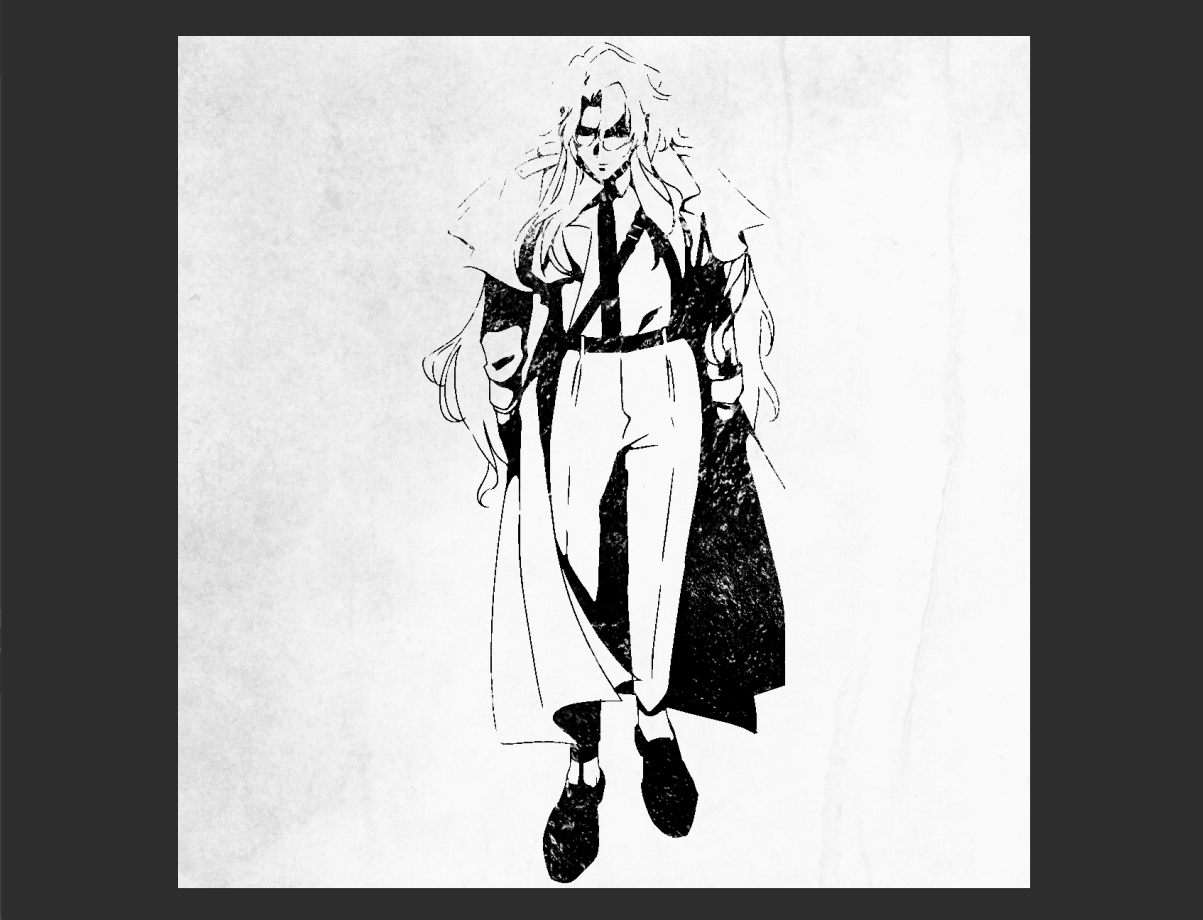
¡Un conjunto de herramientas para crear un aspecto similar a un sello para cualquier dibujo! A set of tools to create a stamp-like look for any drawing!
Cómo usar este conjunto:
1. Seleccione una capa de la que desee hacer un sello en el panel de capas.
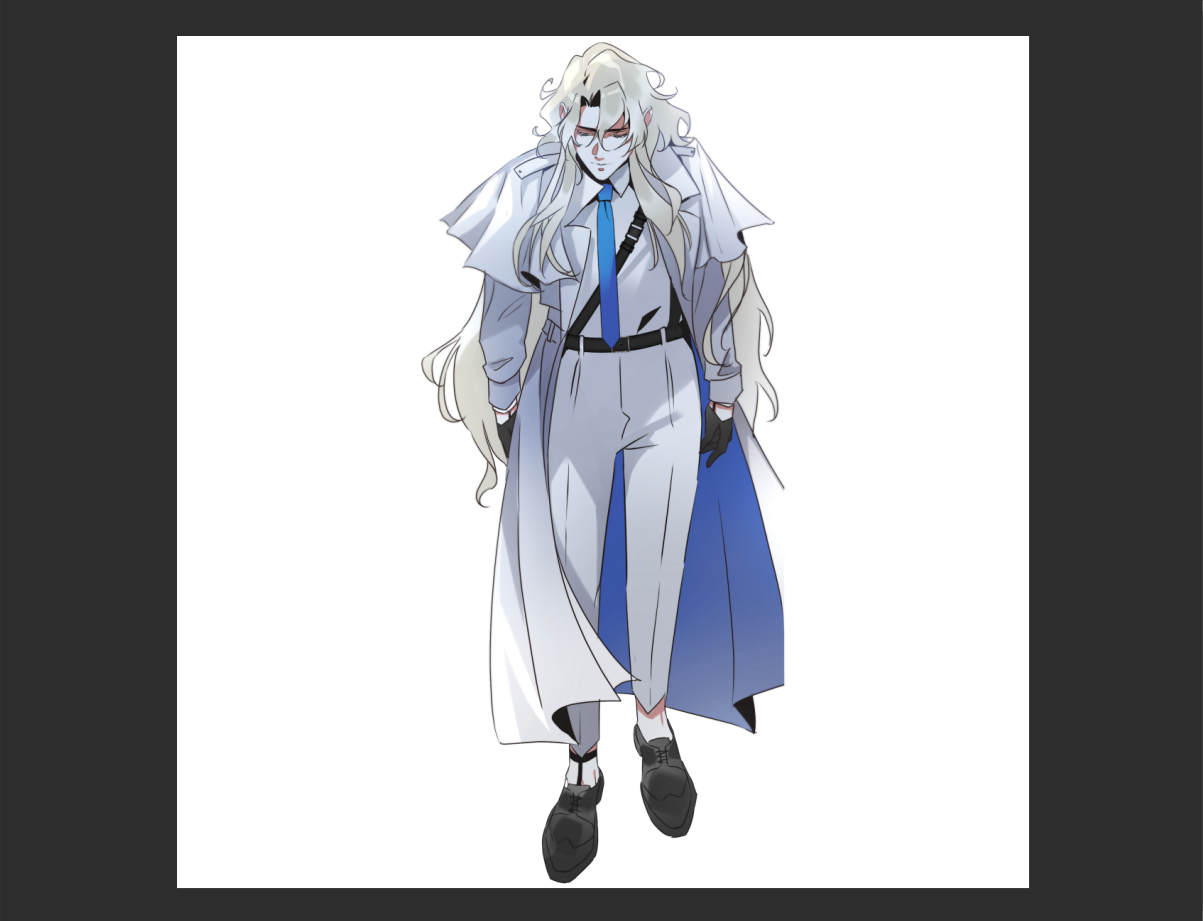
2. Inicie la acción 'Sello'.
1. Seleccione una capa de la que desee hacer un sello en el panel de capas.

2. Inicie la acción 'Sello'.
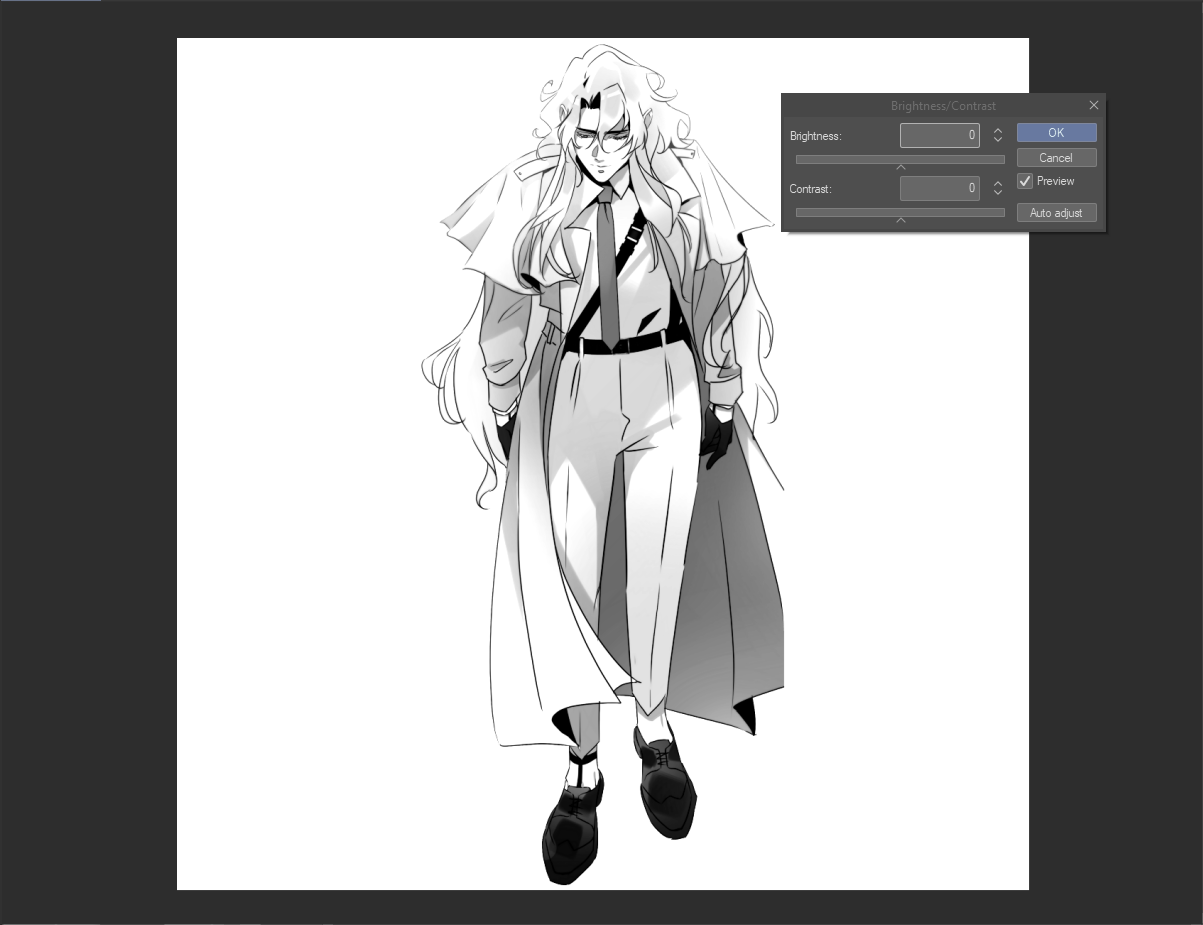
3. Cambie los parámetros en el menú emergente a su gusto: ¡cuanto más oscuras sean las áreas contrastadas visibles, mejor sello obtendrá!
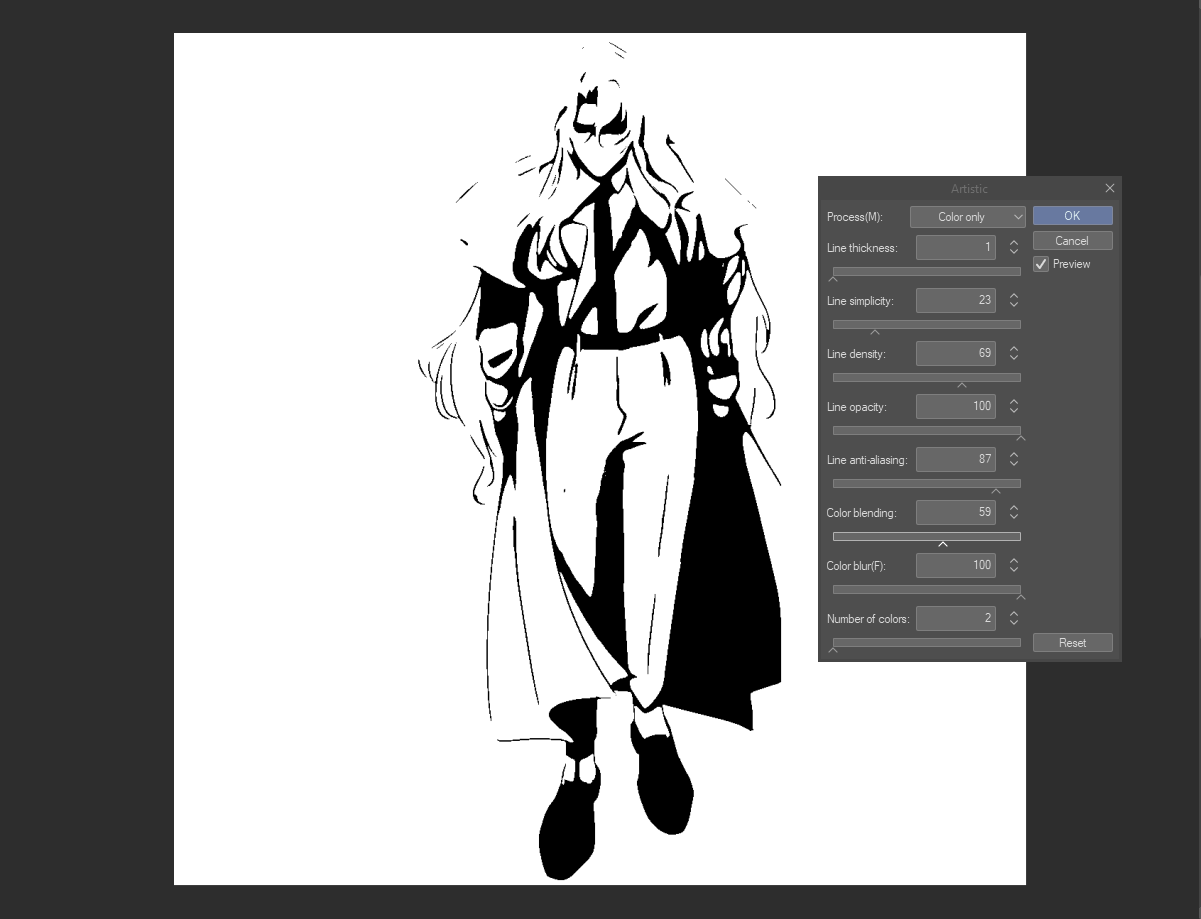
4. A continuación, llega una nueva ventana emergente, ¡woah! Te pregunta sobre los niveles de colores, y te recomiendo que te ciñas a solo 2 de ellos, ya que da el aspecto más natural.
Sin embargo, si su imagen no se ve tan bien con ella, intente jugar con la configuración de desenfoque de color y mezcla.
5. Está bien, la acción ha terminado. Hizo una capa base principal para nuestro sello Y una capa vacía encima. ¡Es hora de usar el pincel de textura!
Puedes usar cualquiera de tus pinceles grunge favoritos o probar el de este conjunto: lo creé usando fotos de mi pared de ladrillos de cerca :D
Sólo tienes que añadir tanta textura grunge como quieras.
¡El color no importa en absoluto!
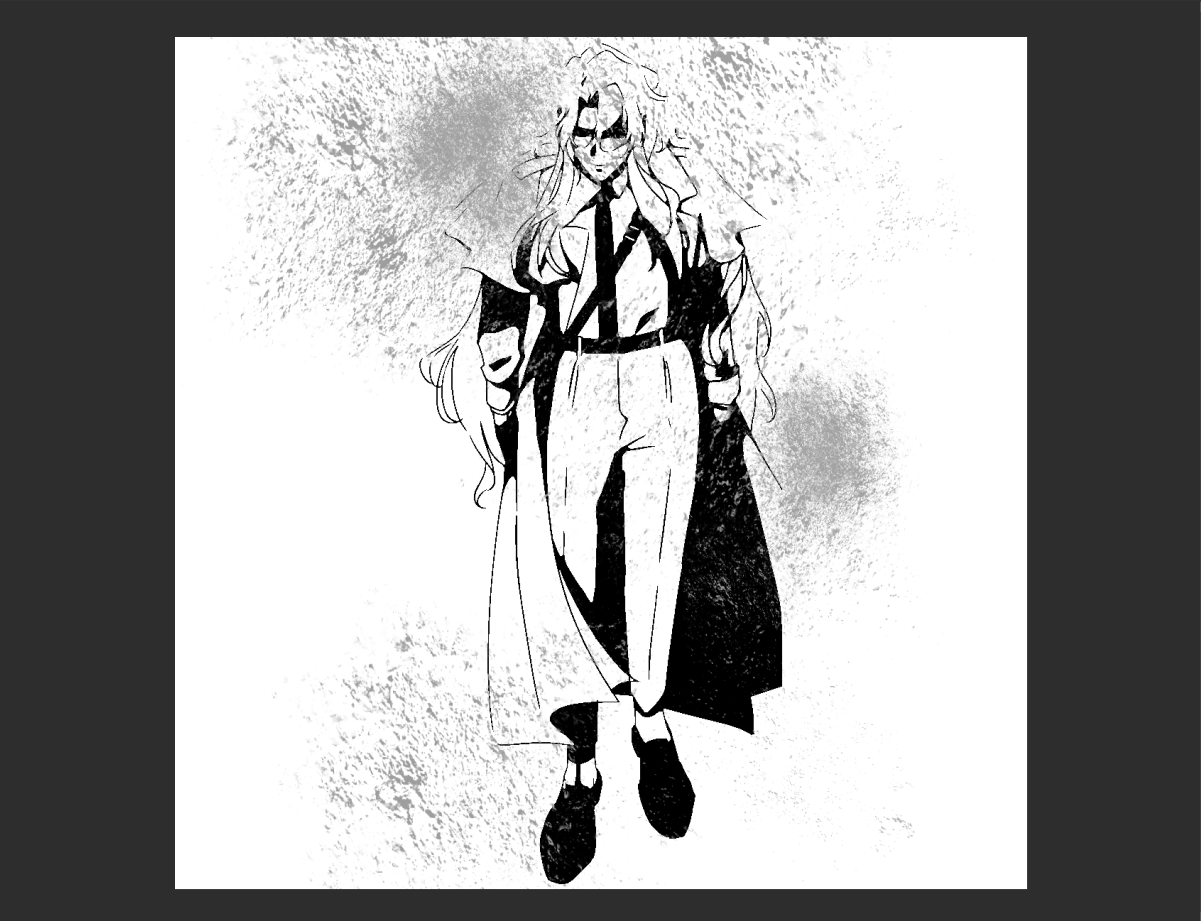
6. Ahora, permaneciendo en la capa con la textura, inicie la segunda acción: estampar la textura. Combinará los dos para crear este bonito sello.
Te recomiendo totalmente que tengas una textura de papel debajo de todos estos, ya que da los mejores resultados.
¡DISFRUTAR!

4. A continuación, llega una nueva ventana emergente, ¡woah! Te pregunta sobre los niveles de colores, y te recomiendo que te ciñas a solo 2 de ellos, ya que da el aspecto más natural.
Sin embargo, si su imagen no se ve tan bien con ella, intente jugar con la configuración de desenfoque de color y mezcla.

5. Está bien, la acción ha terminado. Hizo una capa base principal para nuestro sello Y una capa vacía encima. ¡Es hora de usar el pincel de textura!
Puedes usar cualquiera de tus pinceles grunge favoritos o probar el de este conjunto: lo creé usando fotos de mi pared de ladrillos de cerca :D
Sólo tienes que añadir tanta textura grunge como quieras.
¡El color no importa en absoluto!

6. Ahora, permaneciendo en la capa con la textura, inicie la segunda acción: estampar la textura. Combinará los dos para crear este bonito sello.
Te recomiendo totalmente que tengas una textura de papel debajo de todos estos, ya que da los mejores resultados.

¡DISFRUTAR!
How to use this set:
1. Select a layer you want to make a stamp of on the layer panel.
2. Start the 'Stamp' action.
1. Select a layer you want to make a stamp of on the layer panel.
2. Start the 'Stamp' action.
3. Change parameters In pop-out menu to your liking - the more dark contrasted areas visible, the better stamp you will get!
4. Next, a new popout arrive, woah! It asks you about levels of colors, and I recommend sticking to just 2 of them - it gives the most natural look.
However, if your picture doesn't look as good with it - try playing around with the color blur and blend settings!
5. Okay, action is over. It made a main base layer for our stamp AND an empty layer above it. Time to use the texture brush!
You can use any of your favorite grunge brushes or try out the one in this set - I created it using photos of my brick wall close up :D
Just add up as much of grungey texture as you like.
Colour doesn't matter at all!
6. Now, staying on the layer with the texture, start the second action - stamp texture. It will combine the two to create this nice stamp.
I totally recommend you to have a paper texture underneath all of these - it makes the best results.
ENJOY!
Categoría 1 Category 1


Más materiales de wpjp


Materiales populares de Catálogos de materiales


Nuevos materiales


Insignias
-
 MVP ◆Estos usuarios han contribuido en gran medida a la gestión de la comunidad, al publicar multitud de útiles respuestas a las preguntas planteadas. Una vez cada tres meses, los MVP son seleccionados en base a los puntos obtenidos durante ese período y, en consecuencia, son reconocidos por su esfuerzo.
 -
 New Valuable Player (NVP) ◆Son las personas que más han contribuido a la comunidad después de los MVP. Este galardón se otorga según los puntos conseguidos a los usuarios que aún no han obtenido ningún premio MVP.
 -
 Especialista oficial ◆Elegidos de entre todos los MVP, quienes ya han demostrado ser de inestimable ayuda, esto es un testimonio de su excepcional apoyo para con la comunidad. Tras un minucioso escrutinio, son nombrados por Celsys para ocupar dicho cargo.Nota: Anteriormente denominados "evangelistas".
 -
 Moderador oficial de Celsys ◆Los moderadores son miembros del personal de Celsys que pueden comunicarse en japonés y otros idiomas. No son expertos en software o ilustración, por lo que no pueden responder directamente a las preguntas. Sin embargo, tratarán de asegurarse de que la comunicación entre usuarios de distintas lenguas sea tan fluida y comprensible como sea posible.
 -
 Cuenta oficial de CelsysCuenta oficial del administrador