
Relleno automático para animáticas (Auto Fill In for Animatics) Auto Fill In for Animatics
Content ID:2154130
-
53

¡Rellena automáticamente tu lineart con un color de bloque para acelerar el proceso de creación de animáticas! ¡Sólo tienes que utilizar la herramienta de selección de varita! Automatically fill in your lineart with a block colour to speed up the animatic-making process! Just use the wand select tool!
Si alguna vez quieres bloquear personajes para animáticas u otros fines, ¡esta acción automática lo hace realmente rápido!

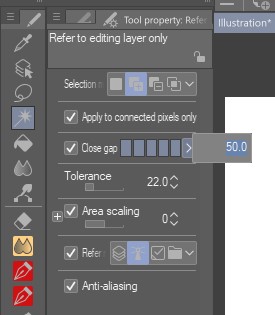 Configuro la configuración de mi varita para poder agregar más selecciones, lo cual es útil cuando hay espacios que no deben llenarse, como el espacio entre el cuerpo y el brazo del personaje. También puse mis ajustes de espacio cerrado muy altos para que se llene correctamente.

¡Que te diviertas!
1. Haz tu lineart como quieras. Solo asegúrate de que no haya grandes huecos.
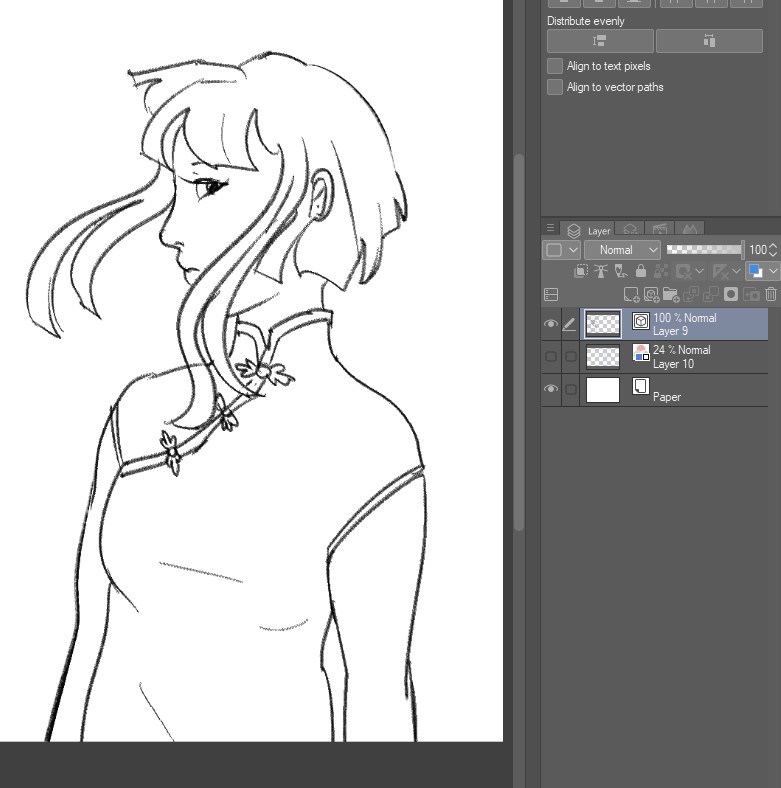
2. Luego seleccione el exterior del área que desea llenar con la herramienta de varita. Esto se debe a que la acción automática invertirá su selección. De esta manera es más rápido y no tendrás píxeles vacíos entre el relleno y el lineart.

2. Luego seleccione el exterior del área que desea llenar con la herramienta de varita. Esto se debe a que la acción automática invertirá su selección. De esta manera es más rápido y no tendrás píxeles vacíos entre el relleno y el lineart.

 Configuro la configuración de mi varita para poder agregar más selecciones, lo cual es útil cuando hay espacios que no deben llenarse, como el espacio entre el cuerpo y el brazo del personaje. También puse mis ajustes de espacio cerrado muy altos para que se llene correctamente.
3. Elige tu color de relleno y usa la acción automática.

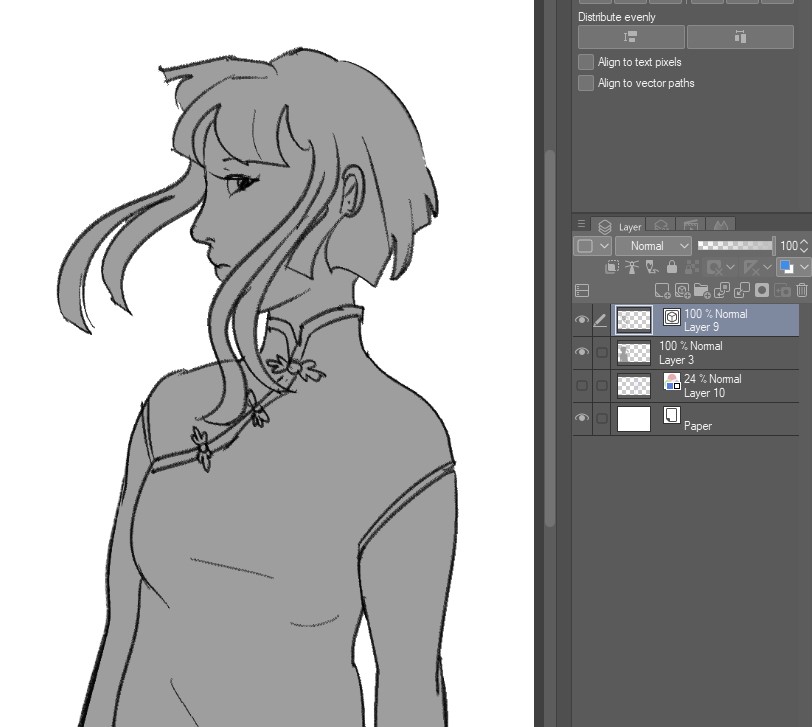
La acción automática ajustable significa que la capa de bloques de color estará debajo del área de lineart. Esto significa que puedes jugar con el lineart y rellenar el color más fácilmente.
También creo que es más fácil agregar efectos animáticos de esta manera, como sombreado o degradados.

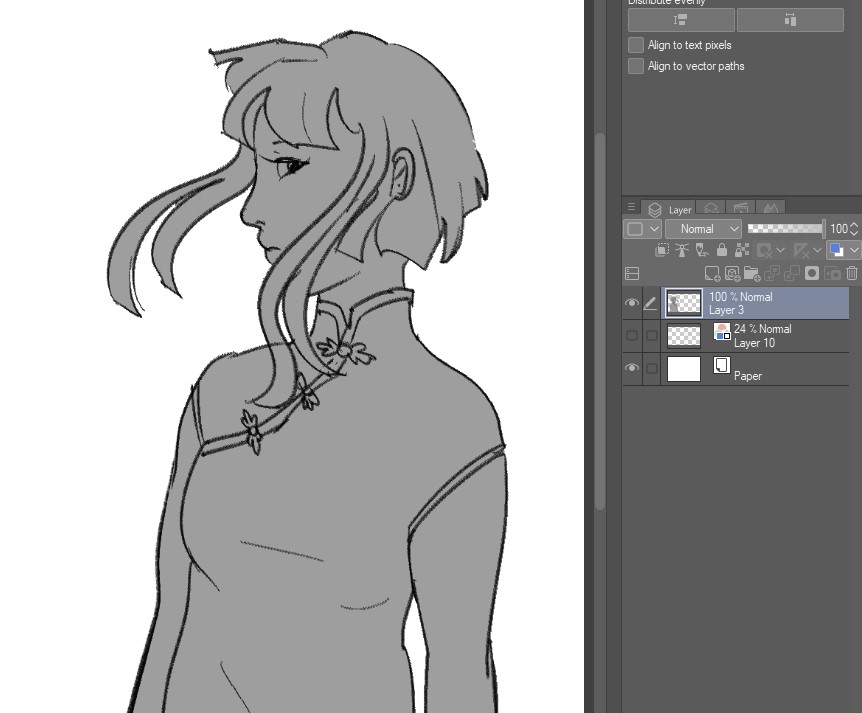
Hay una versión de acción automática de fusión, lo que significa que el lineart se fusionará con la capa de bloques en caso de que no quieras lidiar con demasiadas capas en tu archivo o algo así.

¡Que te diviertas!
If you ever want to block in characters for animatics or other purposes, this auto action makes it really speedy!
I set my wand settings so I can add more selections, which is useful when there are spaces that must not be filled, such as the gap between the character's body and arm. I also put my close gap settings really high so it will fill properly.
Have fun!
1. Do your lineart however you like. Just make sure there aren't any big gaps.
2. Then select the outside of the area you want to fill using the wand tool. This is because the auto action will invert your selection. This way is faster, and you will not have any empty pixels between the fill and the lineart.
2. Then select the outside of the area you want to fill using the wand tool. This is because the auto action will invert your selection. This way is faster, and you will not have any empty pixels between the fill and the lineart.
I set my wand settings so I can add more selections, which is useful when there are spaces that must not be filled, such as the gap between the character's body and arm. I also put my close gap settings really high so it will fill properly.3. Choose your fill colour and use the auto action.
The adjustable auto action means that the color block layer will be below the lineart area. This means you can mess around with the lineart and fill colour easier.
I also think it's easier to add animatic effects this way, like shading or gradients.
There is a merge auto action version, meaning the lineart will be merged with the block layer in case you don't want to deal with too many layers in your file or something.
Have fun!


Materiales populares de Acciones automáticas


Nuevos materiales


Insignias
-
 MVP ◆Estos usuarios han contribuido en gran medida a la gestión de la comunidad, al publicar multitud de útiles respuestas a las preguntas planteadas. Una vez cada tres meses, los MVP son seleccionados en base a los puntos obtenidos durante ese período y, en consecuencia, son reconocidos por su esfuerzo.
 -
 New Valuable Player (NVP) ◆Son las personas que más han contribuido a la comunidad después de los MVP. Este galardón se otorga según los puntos conseguidos a los usuarios que aún no han obtenido ningún premio MVP.
 -
 Especialista oficial ◆Elegidos de entre todos los MVP, quienes ya han demostrado ser de inestimable ayuda, esto es un testimonio de su excepcional apoyo para con la comunidad. Tras un minucioso escrutinio, son nombrados por Celsys para ocupar dicho cargo.Nota: Anteriormente denominados "evangelistas".
 -
 Moderador oficial de Celsys ◆Los moderadores son miembros del personal de Celsys que pueden comunicarse en japonés y otros idiomas. No son expertos en software o ilustración, por lo que no pueden responder directamente a las preguntas. Sin embargo, tratarán de asegurarse de que la comunicación entre usuarios de distintas lenguas sea tan fluida y comprensible como sea posible.
 -
 Cuenta oficial de CelsysCuenta oficial del administrador