¡Hola compañeros creativos!
Los bocetos son la base de cualquier buena obra de arte, y para tener buenos bocetos, es importante tener herramientas que funcionen según sus necesidades.
He creado dos pinceles a lápiz personalizados que me ayudan durante mis etapas de dibujo y los comparo libremente para que cualquiera los use. Hablemos de cómo incorporo estos dos pinceles a mi flujo de trabajo.
Primero, empiezo en una etapa de borrador. Para este ejemplo, estoy usando el Pincel de Lápiz Suave que he proporcionado en este catálogo de materiales. En esta etapa, bloqueo las formas y mantenlo todo muy áspero. De esta manera, si es necesario, se pueden hacer cambios antes de que realmente haya comenzado a definir en qué estoy trabajando.
A continuación, empiezo a definir mis bocetos un poco más haciendo que las líneas sean más limpias y nítidas. Definir sus bocetos desde el principio ayudará a hacer que renderizar su pieza final sea más fácil y rápido. Recuerde, el boceto es la base de su pieza, y si falta su boceto, el resto de su trabajo le seguirá. Para ello, utilizo el Pincel de Lápiz Duro incluido en el catálogo de materiales. Este pincel tiene un punto de contracción y es más sensible a la presión del lápiz.
Finalmente, me maqueré las sombras y defino mi fuente de luz con el Pincel de Lápiz Duro. Me gusta asegurarme de que mi iluminación y mis sombras sean correctas antes de empezar a tinta y color, para no perder el tiempo arreglándolas más adelante.

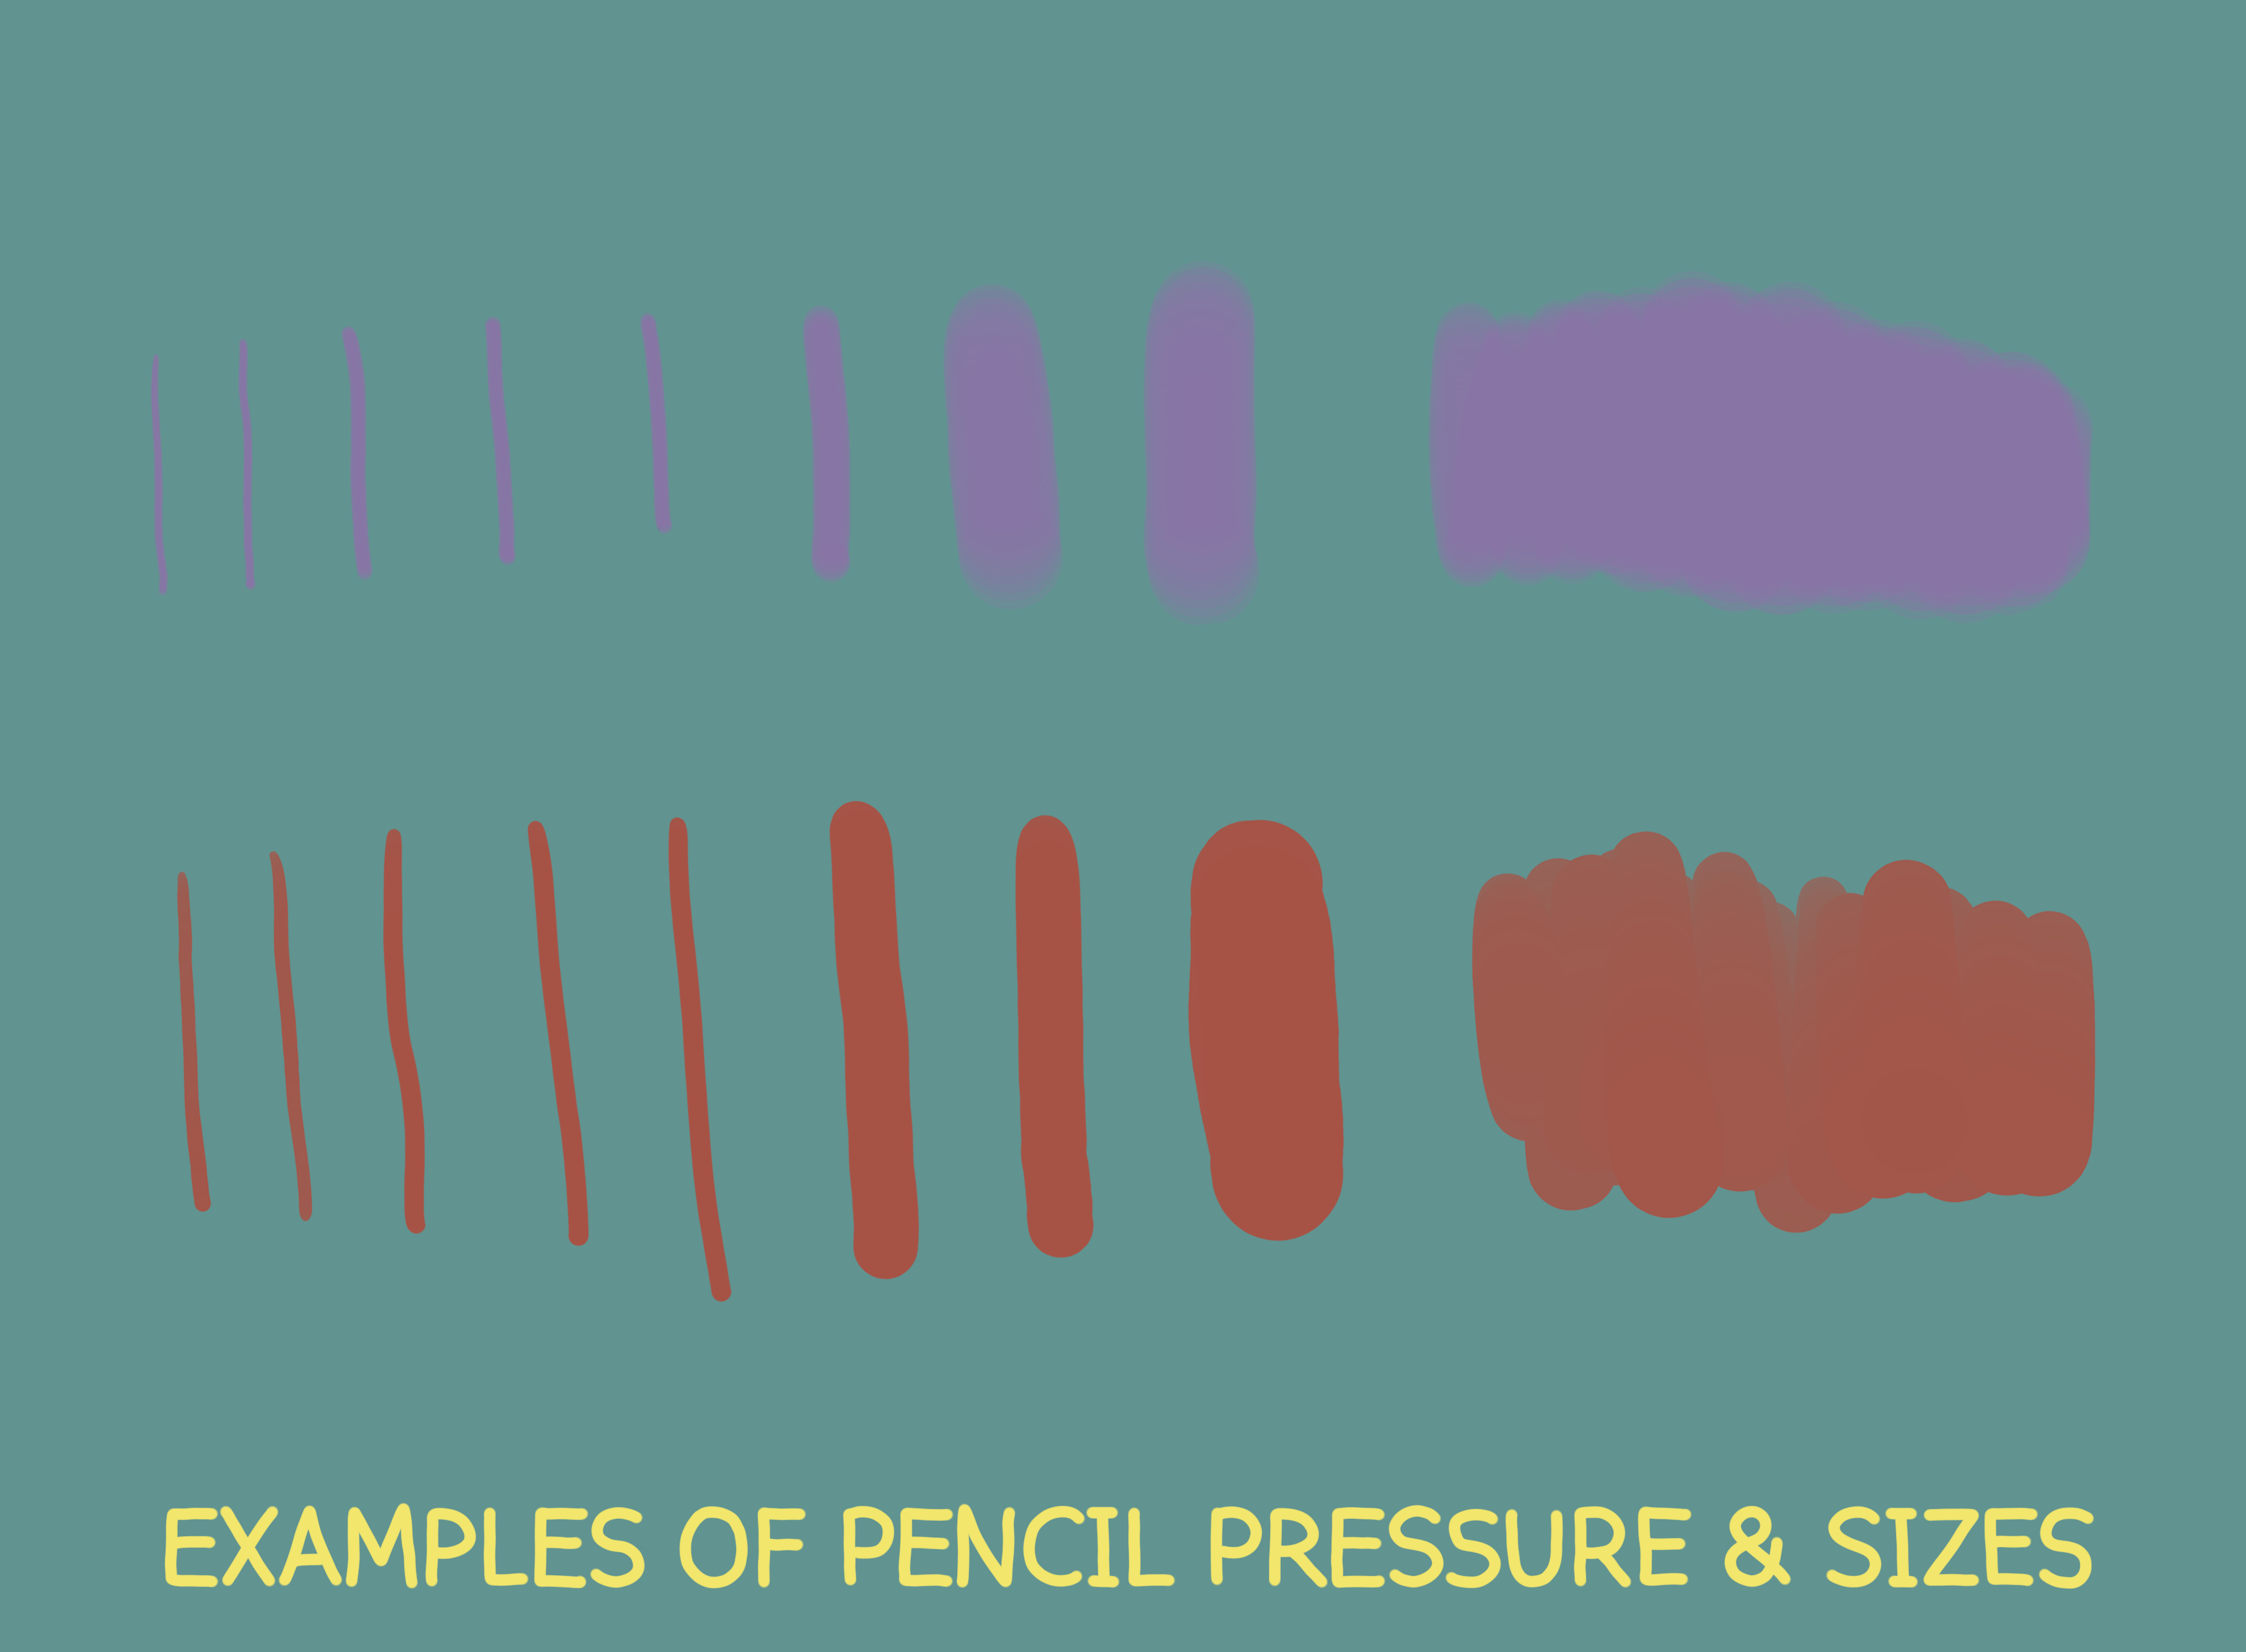
Aquí hay ejemplos de los pinceles de lápiz con diferentes tamaños y presión. Las líneas púrpuras son del Pincel Lápiz Suave, mientras que las líneas rojas son del Pincel de Lápiz Duro.
Espero que disfrutes de mi juego de pinceles personalizado, y que estos pinceles te ayuden en tus esfuerzos creativos.
-INKY
Hello fellow creatives!
Sketches are the foundation to any good artwork, and to have good sketches, it's important to have tools that work for your needs.
I've created two custom pencil brushes that help me during my sketching stages and am sharing them freely for anyone to use. Let's talk about how I incorporate these two brushes into my workflow.
First, I start in a rough draft stage. For this example, I am using the Soft Pencil Brush I've provided in this material catalog. In this stage, I block out the shapes and keep everything very rough looking. This way if I need to, changes can be made before I've really started to define what I am working on.
Next, I start to define my sketches a bit more by making the lines cleaner and sharper. Defining your sketches early on will help to make rendering your final piece easier and quicker. Remember, the sketch is the foundation of your piece, and if your sketch is lacking, the rest of your work will follow. For this, I use the Hard Pencil Brush included in the material catalog. This brush has a tapering point and is more sensitive to stylus pressure.
Finally, I mock up the shadows and define my light source with the Hard Pencil Brush. I like to make sure my lighting and shadows are correct before I begin to ink and color, so as not to waste time fixing them later on.

Here are examples of the pencil brushes with different sizes and pressure. The purple lines are of the Soft Pencil Brush, while the red lines are of the Hard Pencil Brush.
I hope you enjoy my custom pencil brush set, and that these brushes help you in your creative endeavors.
-INKY


