
Brightness and hard light guys trending on Twitter (ツイッターで流行ってる輝度とハードライトのやつ) ツイッターで流行ってる輝度とハードライトのやつ
Content ID:2222008
-
139
The guy who is buzzing on Twitter
You can do it with just one click
ツイッターでバズってる加工のやつ
ワンクリックでできます
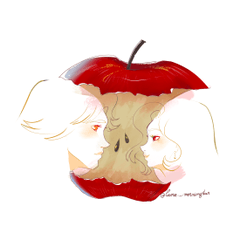
It will look like this. The color has been dropper from the original Tsui


manner of doing

↑1: It doesn't have to be combined, but it will appear above the selected layer, so select a layer above or folder as much as possible
* Paper can be anything, so at least two layers are required.

↑ Just press 2:1 and you're done.
Since the color is specified in the fill layer, it should be forced to this color even if the foreground color is different.
After completion hard light it comes out at 100%, so you can optionally change the transparency of the layer (hard light) to complete. (60% for samples)
* If you select layer below, the result will be like this.

Before After

↓

Bonus: If you light up a mark like this window, you can process it in any color

↓


auto action'm sorry if it didn't work well because it's my first time producing and releasing materials!
こんな感じになります。色は元ツイからスポイトしてきました


やり方

↑1:結合されていなくてもいいですが、選択したレイヤーの上に現れるのでなるべく上のレイヤーもしくはフォルダを選択してください
※用紙でもなんでもいいので最低レイヤー二個必要です

↑2:1を押すだけで終わります。
べた塗りレイヤーで色を指定しているので描画色が違う場合でも強制的にこの色になるはずです。
完成後はハードライト100%で出てくるので、任意でレイヤー(ハードライト)の透明度を変更して完成です。(サンプルの場合は60%)
※下のレイヤーを選択しているとこういう結果になります

Before After

↓

おまけ:このウィンドウみたいなマークを点灯させると任意の色で加工できます

↓


オートアクション制作も素材公開も初めてなのでうまく動作しなかったらごめんなさい!


